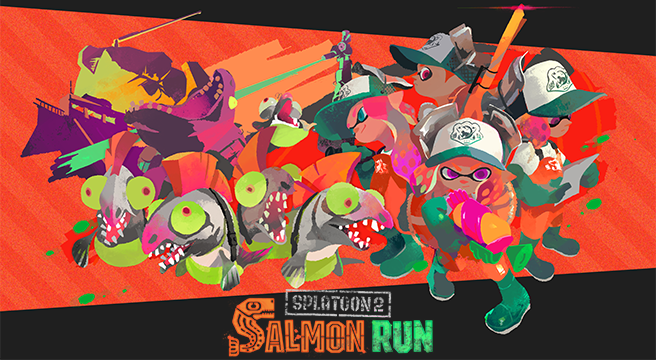
I’ve been playing Salmon Run since Splatoon 2 released the mode in 2017. Since then I’ve learned quite a bit about it, I’ve become a Profreshional, and I sometimes struggle to survive due to the inefficacy of my randomly selected teammates when I play freelance. Salmon Run is all about teamwork, and knowing what you’re doing is key to survive the run.
I wrote a Twitter thread a while back to help my friends with their Salmon Run struggles. It got some good feedback back then, but it’s time to give that thread a better and easier to read version, so here is my revision of my Salmon Run tips.
I hope this post will help you and your friends to become awesome Salmon Run players.
Ever noticed your Salmon Run teammates don’t quite know what to do in some situations? Don’t you wish they knew better? This is a thread to help those players survive SR waves. I know there’s an in-game tutorial, but who reads those! 😉 #NintendoSwitch #Splatoon2 #SalmonRun pic.twitter.com/eBH8vZTxmz
— Star ⭐️✨💫💖 (@iStarStuff) June 30, 2018
Before anything else, make sure you know where the egg basket is. This is the first thing you should be aware of before the wave starts. Follow the egg basket, That’s where the action is happening!
Now, in order to succeed at splating the bosses salmonid and getting their eggs to meet your quota, you need to know how to deal with each boss. Each one is different, and the way to splat them is unique to each one of them.
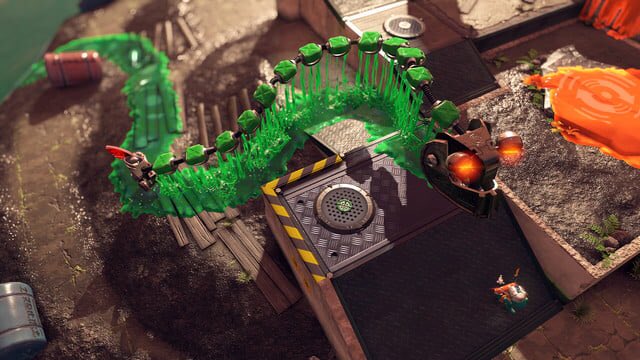
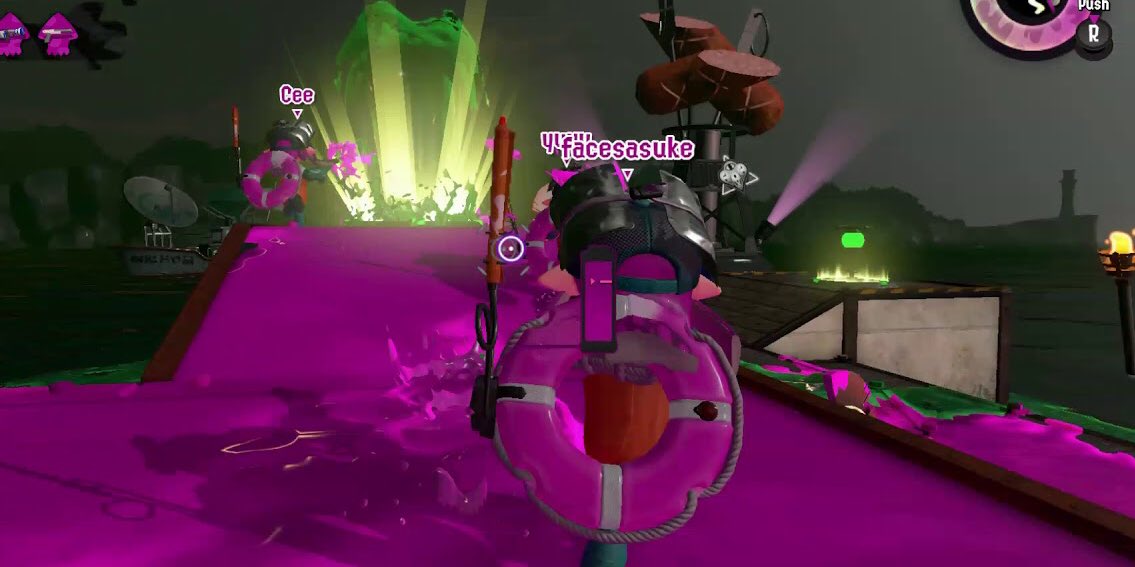
Steel Eel – This long, mechanical beast will chase players relentlessly seeking to encircle and trap them, and splat them. This boss is actually controlled by a single Salmonid at the end of its tail who peddles the steel eel, this is the one you need to shoot and defeat.
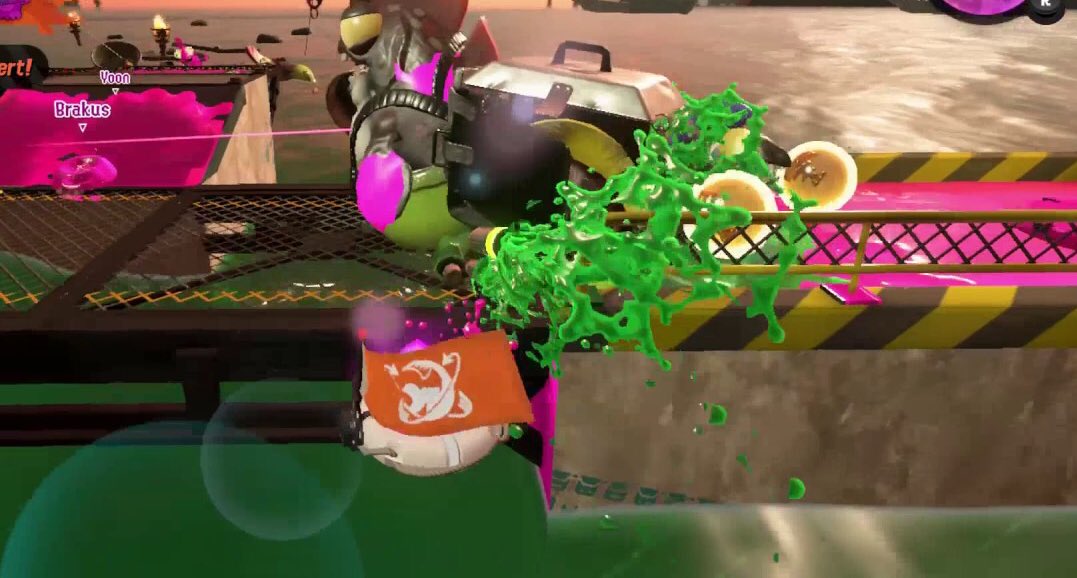
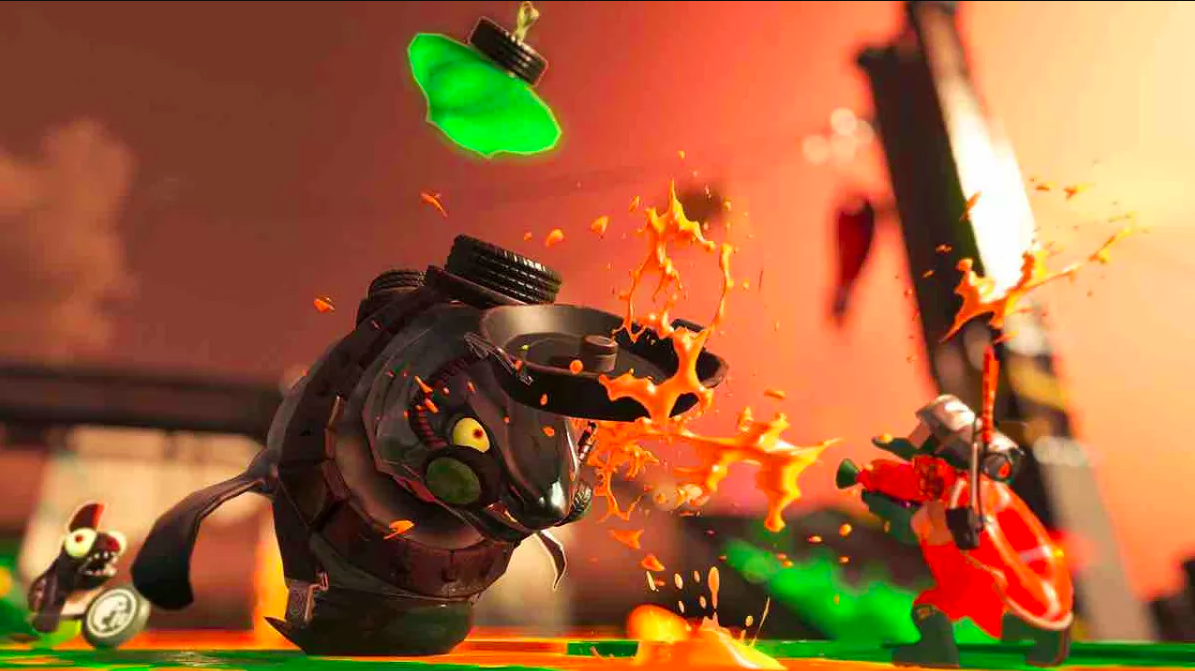
Scrapper – This Salmonid drives a mini-armored vehicle around. If enough damage is dealt to its front, it will break down, exposing its open back and preventing it from pivoting, letting you shoot at its driver leading to its quick demise.
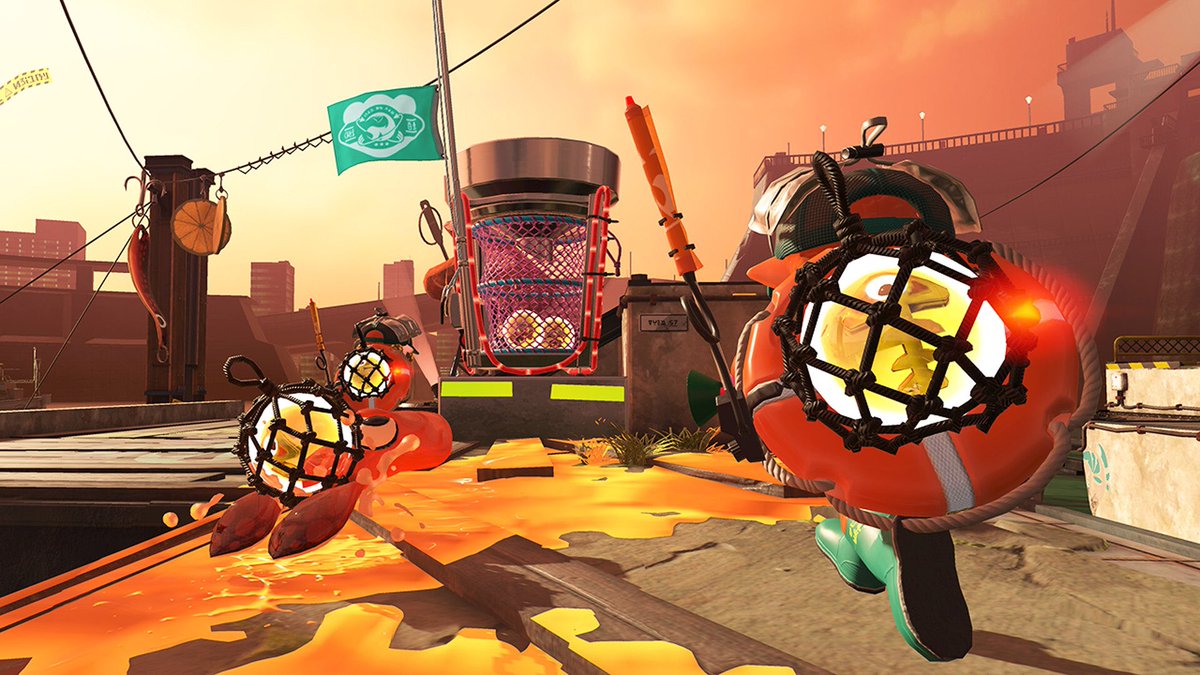
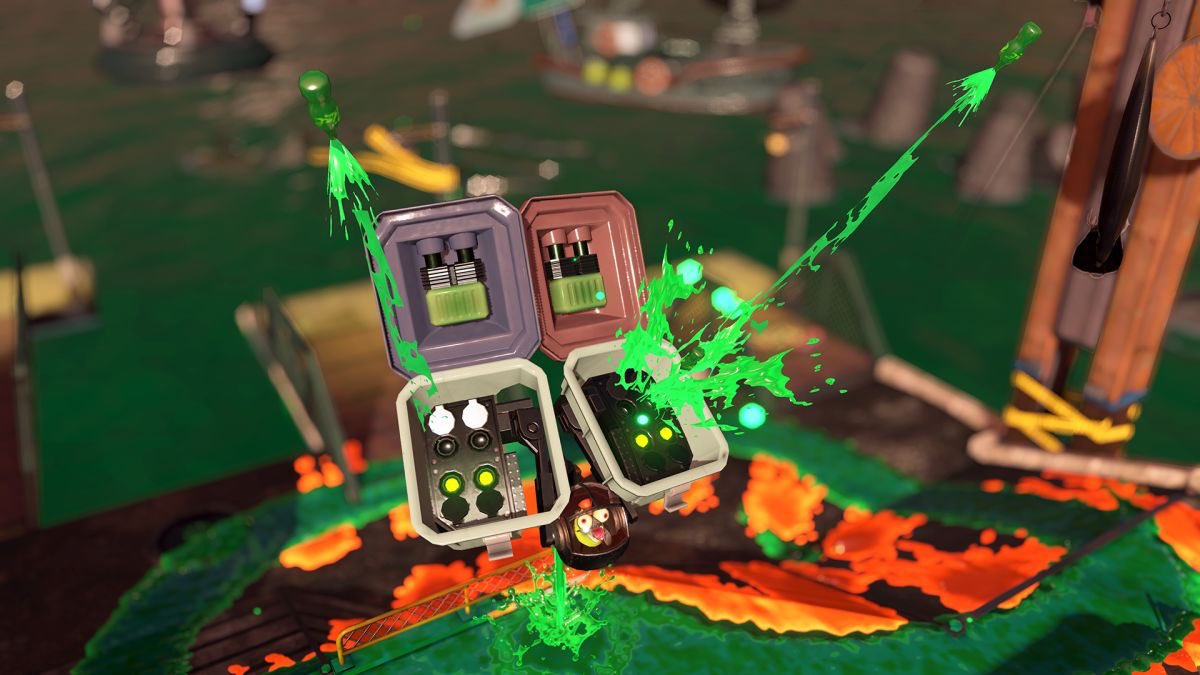 Flyfish – The Flyfish floats around on an inkjet, using two giant coolers to launch Tenta Missiles at players all over the stage. To take it out toss a bomb into each of its two open coolers while the Flyfish prepares to launch its missiles. Also make sure to throw the bomb on the side you’re on, that way other player can toss the other bomb to splat the Flyfish.
Additionally the Grizzco Explosher is the only weapon that can splat a Flyfish, however you only get this weapon in special rotations.
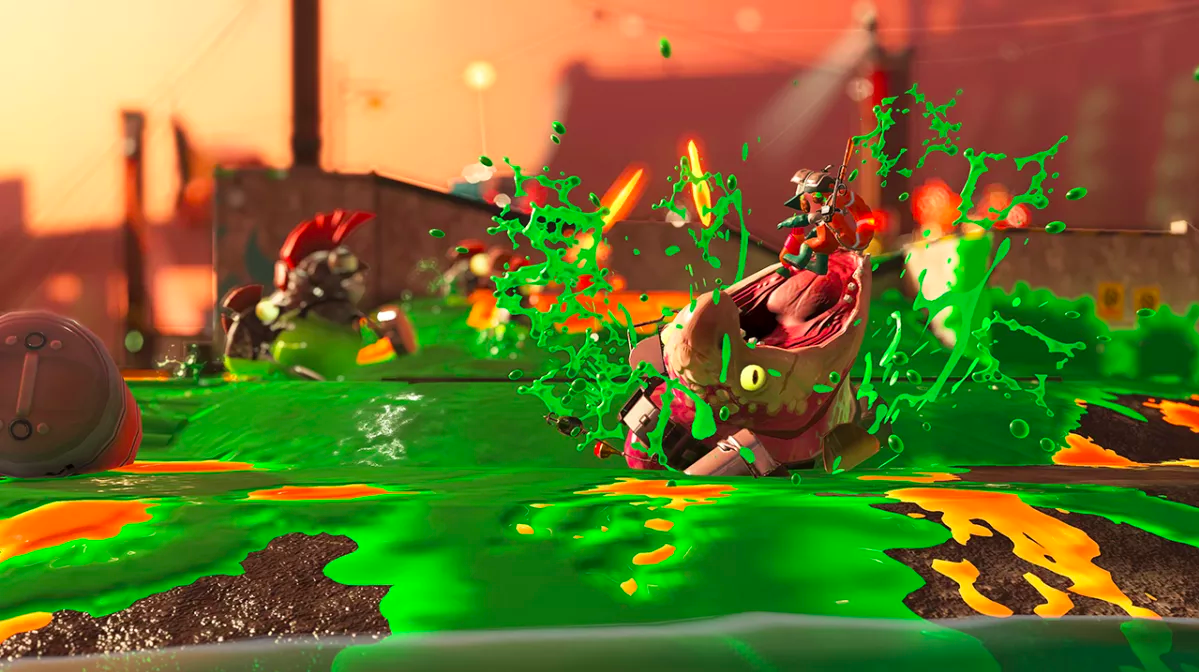
Maws – Maws is the easiest boss to splat. It lurks under the ink, you’ll see a moving bobber that leaves a small ink trail. When in range of a player a green circle will flash before Maws leaps up to devour its target. If you move, it will follow you around until it can circle you, giving you the chance to lure him near the basket for you to get its eggs in the basket quickly. Toss a bomb into its mouth to take it out.
Steelhead – Will launch bombs that it inflates on the top of its head, which explode taking out anyone near the blast. Take care of this boss as soon as possible, as it can wreak havoc and cause you to lose really fast. To take him out shoot at the bomb while it inflates on the Steelhead’s head. Medium & large range weapons are the best for this boss.
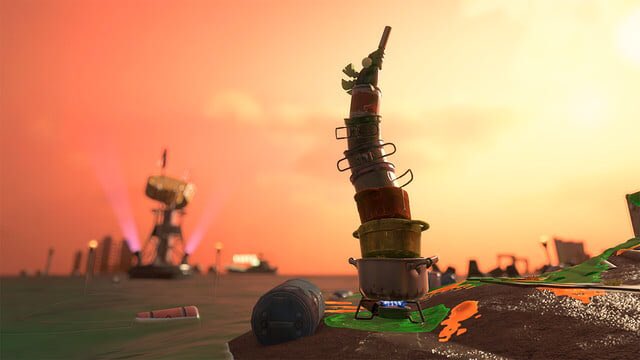
Stinger -The Stinger is a tall boss built of stacked pots and pans with a single Salmonid on top shooting a Sting Ray weapon. Shoot it quickly & repeatedly before it can set up its blast! Knock away its pots until it falls to the ground, then take it out. This is another one that should be dealt with as soon as possible, as it will shoot its sting ray across the stage relentlessly.
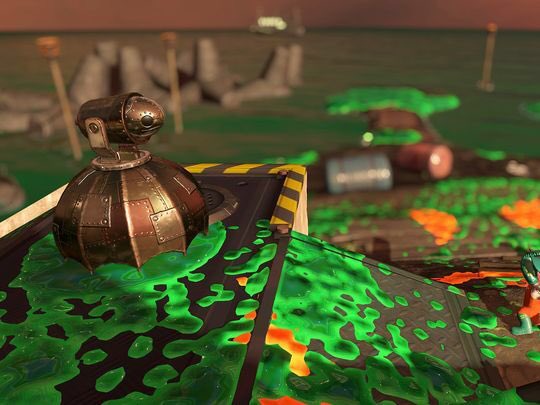
Drizzler – The Drizzler flies over the stage, then lands using its umbrella-like shield to protect the salmonid inside. It can only be attacked when it exposes itself as it turns over to fire the cannon on top, which releases a deadly Ink Storm. Shoot at it with all you’ve got! The Ink Storm cannon can be neutralized by shooting at it before it explodes.
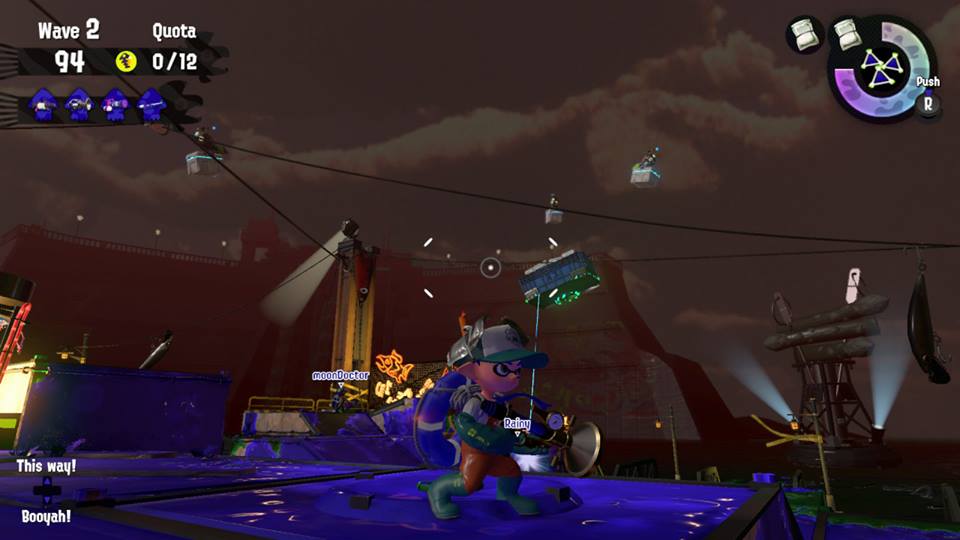
Mothership Event – Shoot at the flying salmonids before they drop their cargo to get their eggs. Once or twice during the wave the mothership will approach the egg basket to steal eggs back. Shoot the mothership to stop it.
just do it. #salmonrun #Mothership #Splatoon2 #NintendoSwitch pic.twitter.com/Y0SX1NRf98
— 🎵Kellie🎵 (@kellie4music) January 8, 2018
The crew member with the stingray special should shoot at the Mothership to get more eggs.
Goldie Event– Sewers emerge on the stage and light up. When you shoot them, they spew a geyser of ink, and countless Salmonids spawn from it. Start shooting at the sewer farthest from the egg basket, as it is the one most likely to be the one where Goldie is hiding. Find Goldie, follow and shoot it as much as possible to get the eggs.
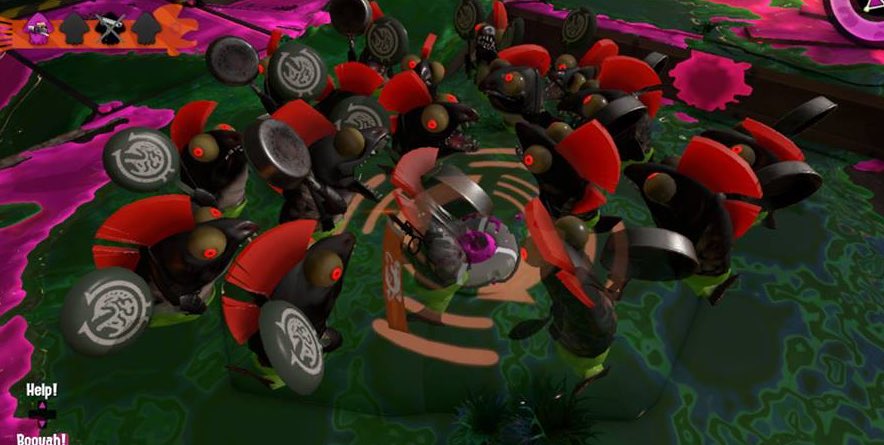
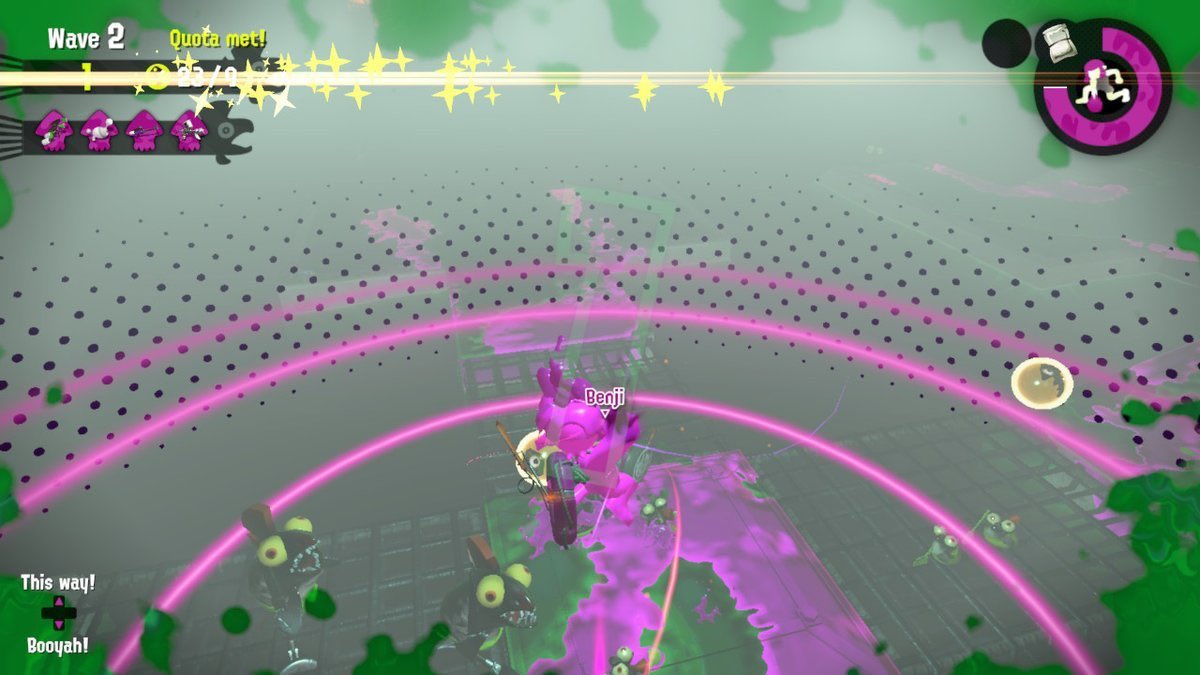
Glowflies – One crew member is surrounded by Glowflies, all Salmonids will rush toward that player, including the Goldie boss. Group up your team at a strategic point and shoot everything that comes at you. The only way to survive the salmon rush is to stay together. Don’t leave your teammates by themselves.
Low Tide Cannons – Cannons spawn for you to fire at the spawning hordes of Salmonids and bosses. Two teammates should focus on firing the cannons, while the other two collect the eggs. You can also be splatter by Maws, Stingray, or Flyfish while in the canon, so pay attention to the changes in your cannon view and move quickly.

Fog event – It’s just a normal wave with very poor visibility, so you have no idea what’s there until you’re either right in front of it, or it’s already attacking you. Just open your eyes wide, and be careful.
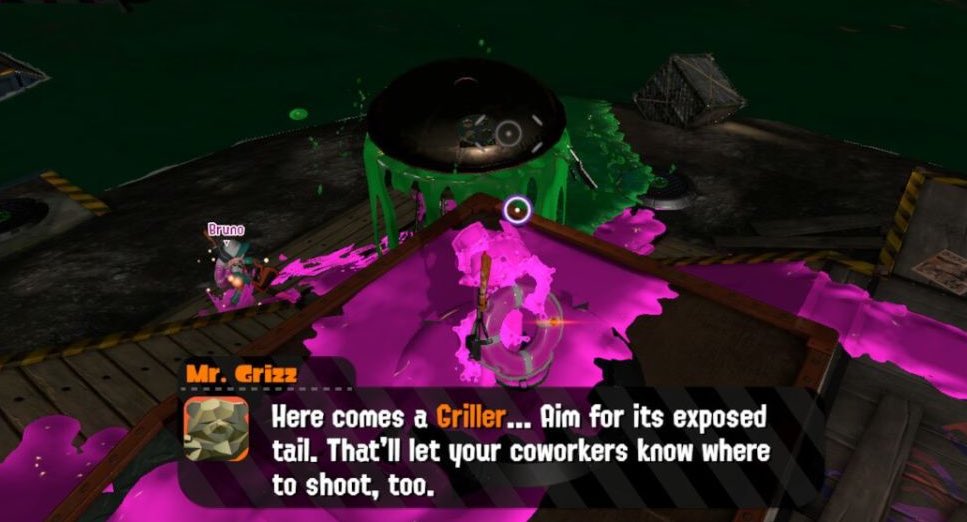
Griller – Grillers target a player with a red laser before they enter the stage. Their weakness is the Salmon at the back of the grill. Shoot at it to expose more that can be shot to kill it. The targeted player must run away from teammates so they can shoot the Griller in the back.
Hold the sliders for your teammates, it can make the difference between succeeding or failing, but also remember to look at the remaining time on your screen, if the egg you’re carrying is the one that will meet the quota, RUN! You need at least four seconds to make to the basket with your egg.
Prioritize reviving your teammates. Remember that if your teammates fail, you fail, too.
Just because you got splatted, doesn’t mean you’re done for. Start making your way towards an ally, preferably near the egg basket. The egg you’re probably carrying may be the difference between meeting your quota and failing a wave.
Don’t be silent. While it’s true that your communication capabilities are very limited, you shouldn’t neglect the options available to you. If you’re down ask for “help”. If you spot incoming bosses, or many eggs to collect use “this way”.
Don’t Forget to use your Special! You’re given a Special with 2 uses, shown by little packs on your helmet. You can’t recharge them, so knowing when to use them is vital, but failing because you were afraid to waste them is even worse.
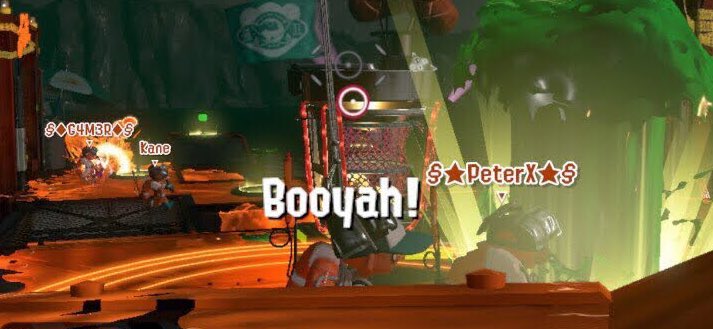
Always Booyah back. I was only half kidding when I wrote this as the last tip of my thread. It’s been discussed at infinitum that people should focus on the objective instead of caring about the booyah feature, but it really helps uplift everyone’s spirit, reinforces the team comradery, and makes the run even more fun!